Coach vs. listing
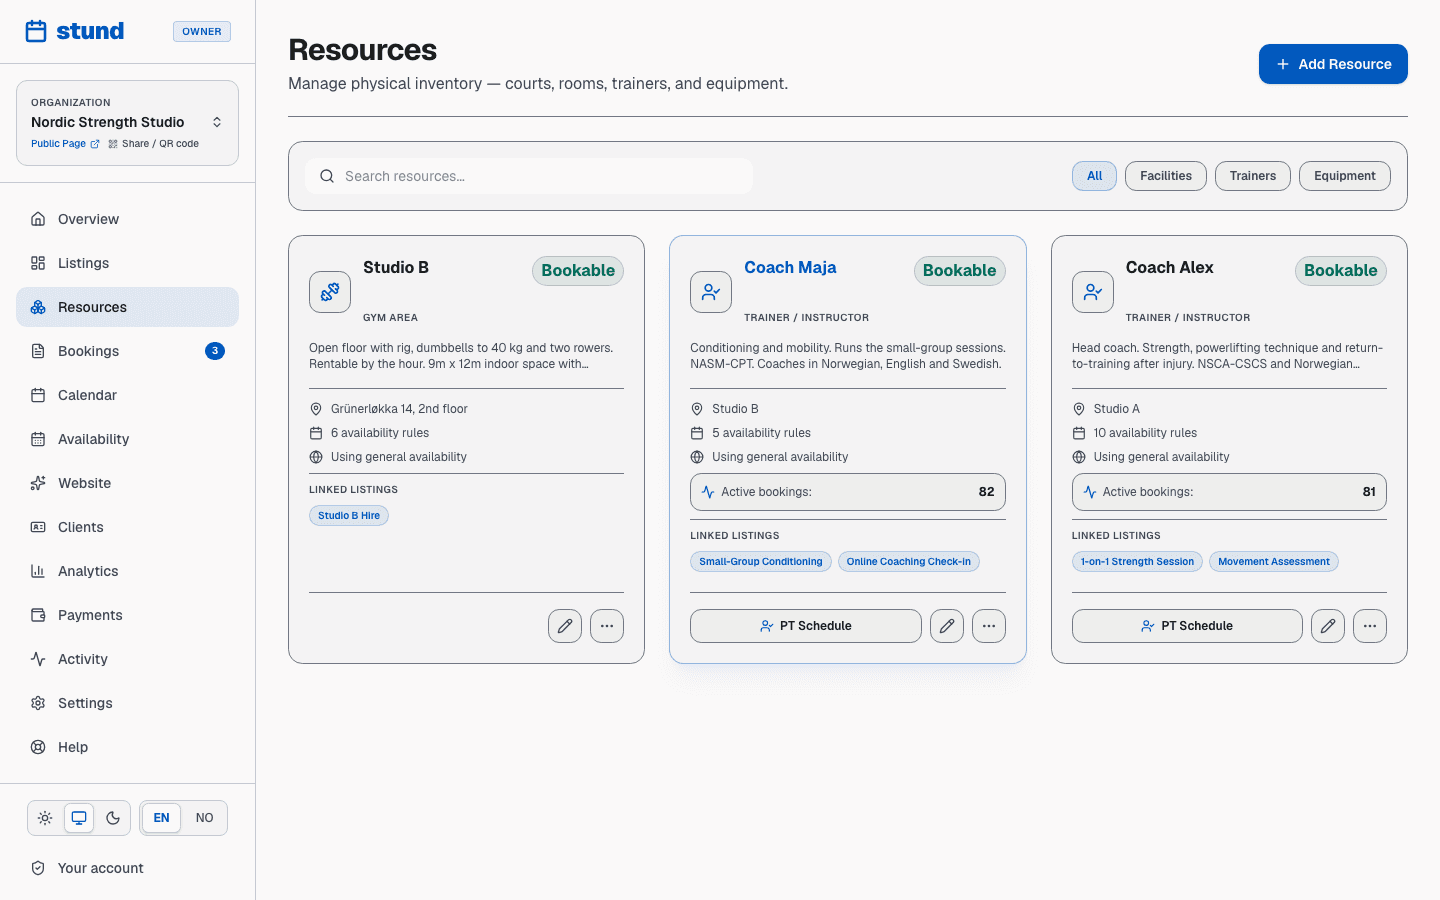
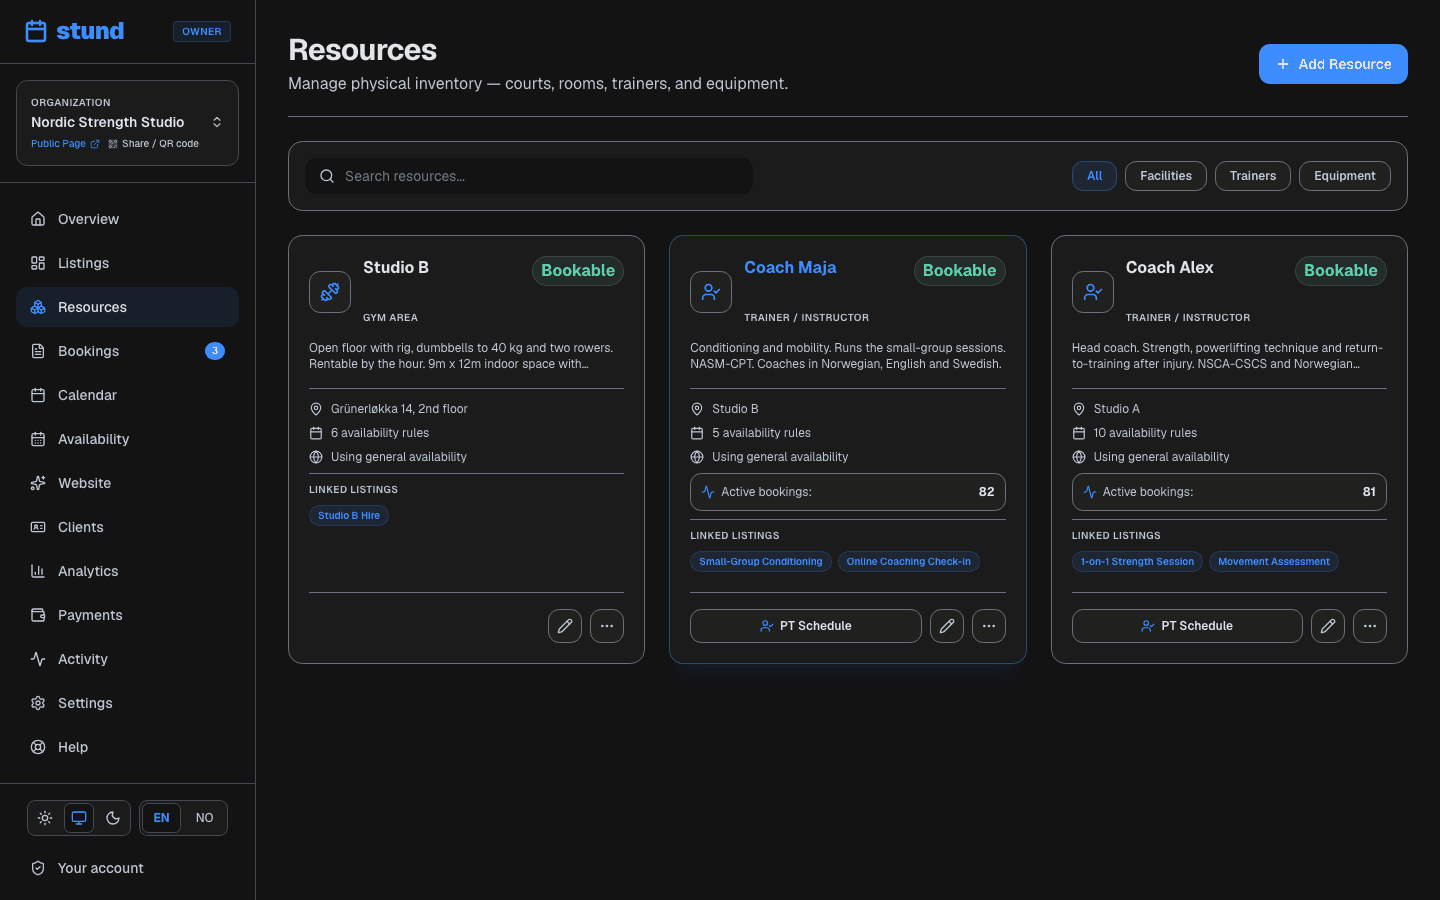
A coach is who your sessions run on. For a solo business that's simply you — but if you have a team, each trainer is their own coach, with their own hours and clients.
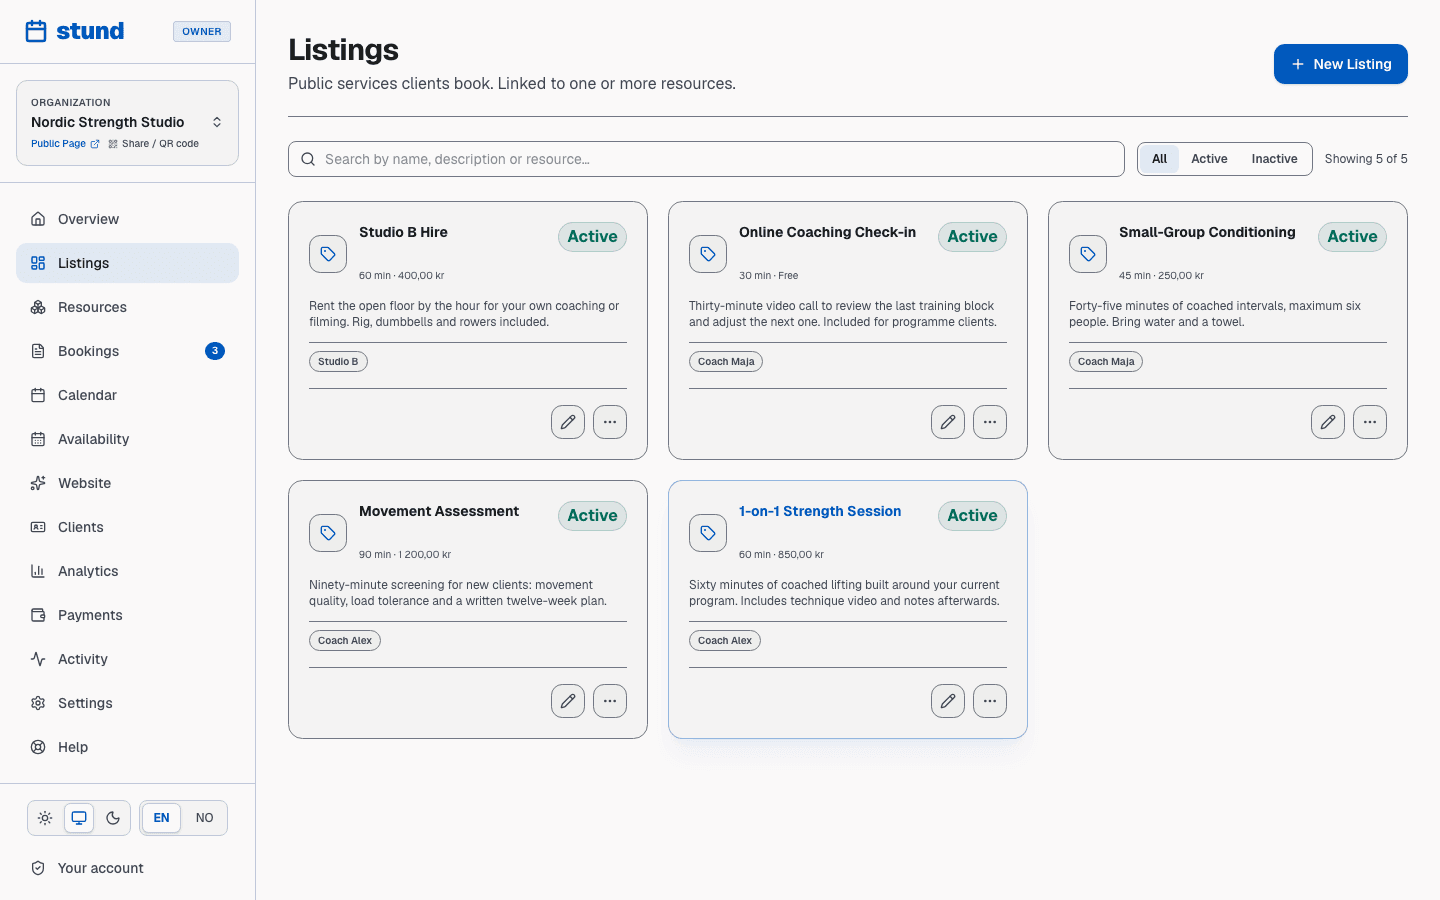
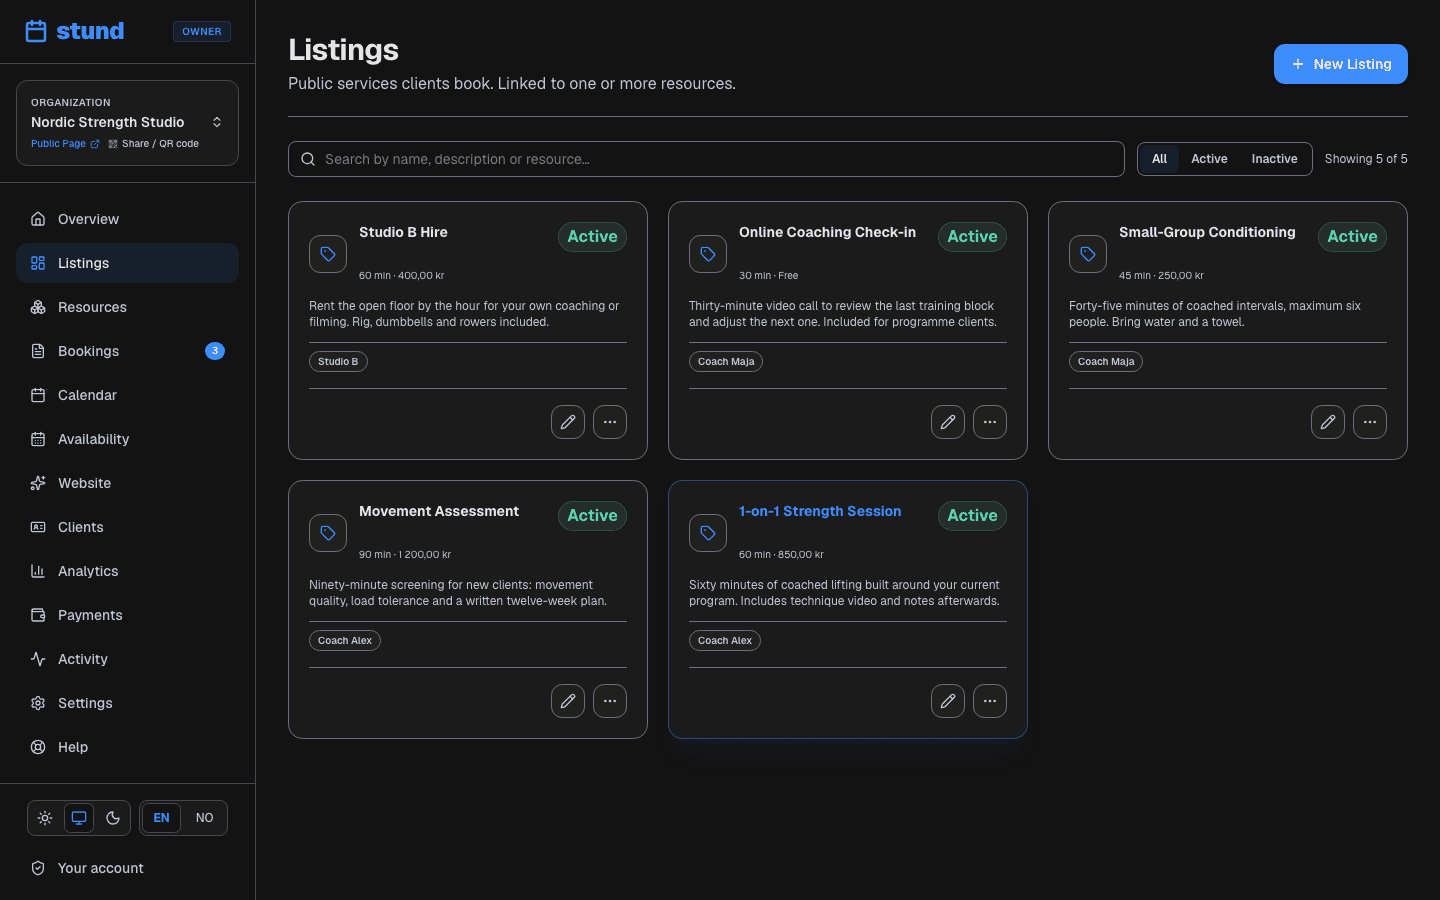
A listing is a bookable service built on a coach — the actual thing your clients reserve, with its own duration and price. Most coaches have at least one listing, and many have more (e.g., you might offer three listings: "30-min session," "60-min session," "nutrition consultation").
Coaches and listings are linked: you create the coach, then define one or more listings for how they can be booked. Clients always book a listing — a coach without an active listing can't be booked, and their booking page tells you so until you add one.
Good to know
Most of the time you only need Listings. Open Coaches when you want to add a photo, set a coach's own hours, or change advanced settings on the person underneath.
Booking shapes
Each listing has a booking shape that determines the experience your clients see:
- Duration booking: clients pick a start time and a length — they answer "when?" and "how long?". The natural fit for 1-on-1 coaching, where sessions can run 30, 45, or 60 minutes.
- Time-slot booking: clients pick from a calendar of fixed time blocks — a good fit for sessions with fixed start times. You set the slot length (30 min, 60 min, etc.).
- Service menu: clients pick from a menu of services, each with its own duration and price, then pick a time — perfect for a coaching menu like "30-min check-in," "60-min session," "program design consultation."
How customers pay
Every listing is either Free or Paid:
- Free — no charge. Booking is instant (if auto-approved).
- Paid — you turn on one or more payment methods, and clients pay using any of them.
For a Paid listing, choose which methods clients can use — you can turn on more than one at once:
- Card — clients pay by card online when they book (needs Stripe connected).
- Vipps — clients pay with Vipps online when they book (needs Vipps connected; Growth and Scale plans).
- Invoice (Klarna) — clients choose invoice through Klarna at checkout. This also runs through Stripe, so it needs Stripe connected too.
- Pay on arrival — clients pay you directly in person; no online payment happens.
You can combine methods freely. Turn on both Card and Pay on arrival, for example, and clients get to choose between paying online now or paying you when they show up. If Pay on arrival is the only method turned on, the listing behaves like the old "pay on site" option: the booking confirms (or waits for your approval) with no online payment, and you collect payment in person.
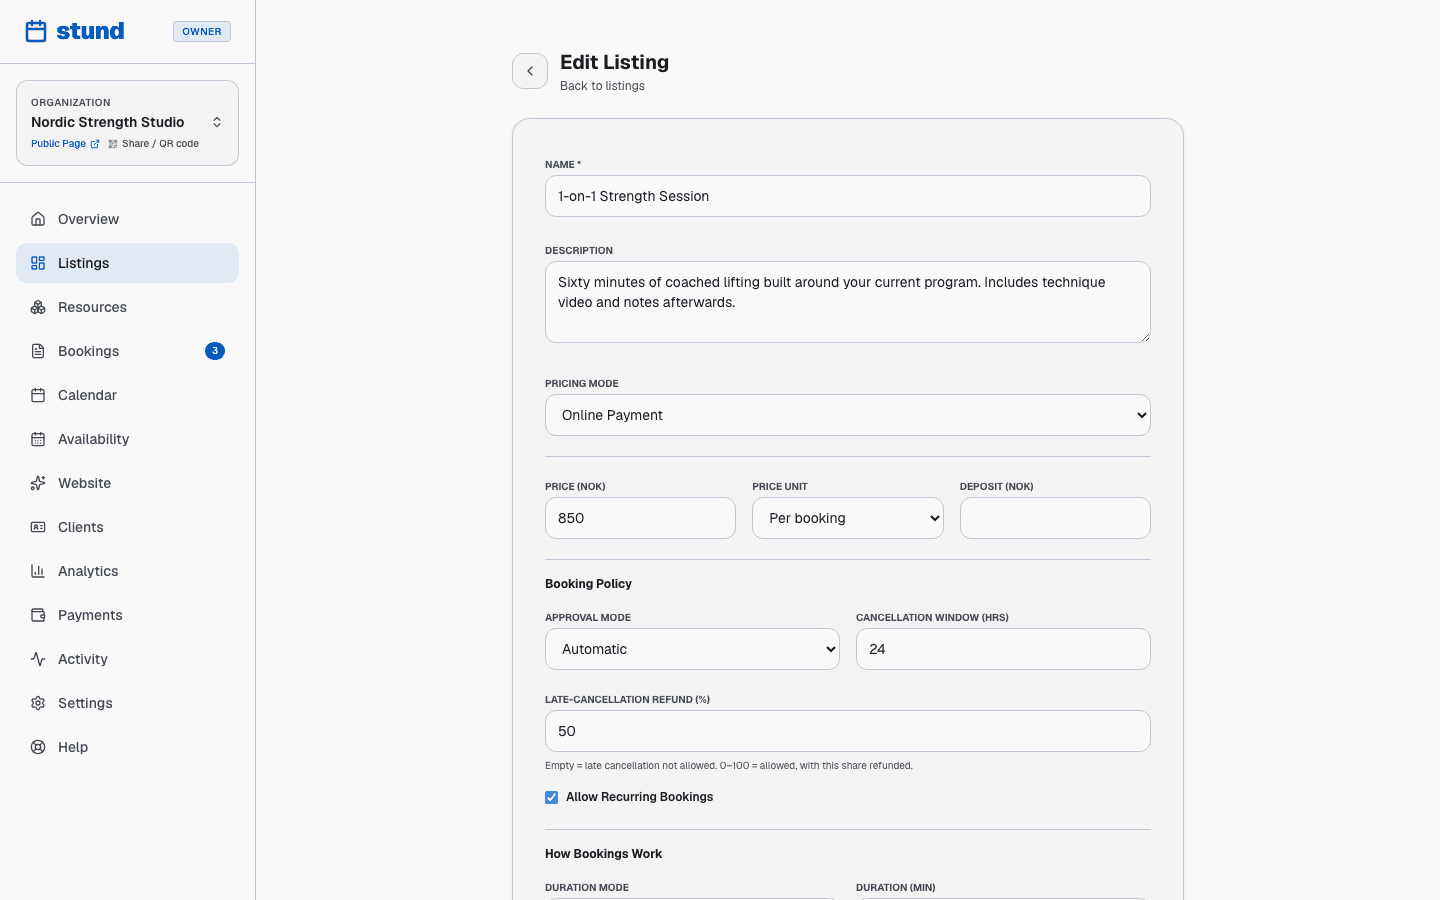
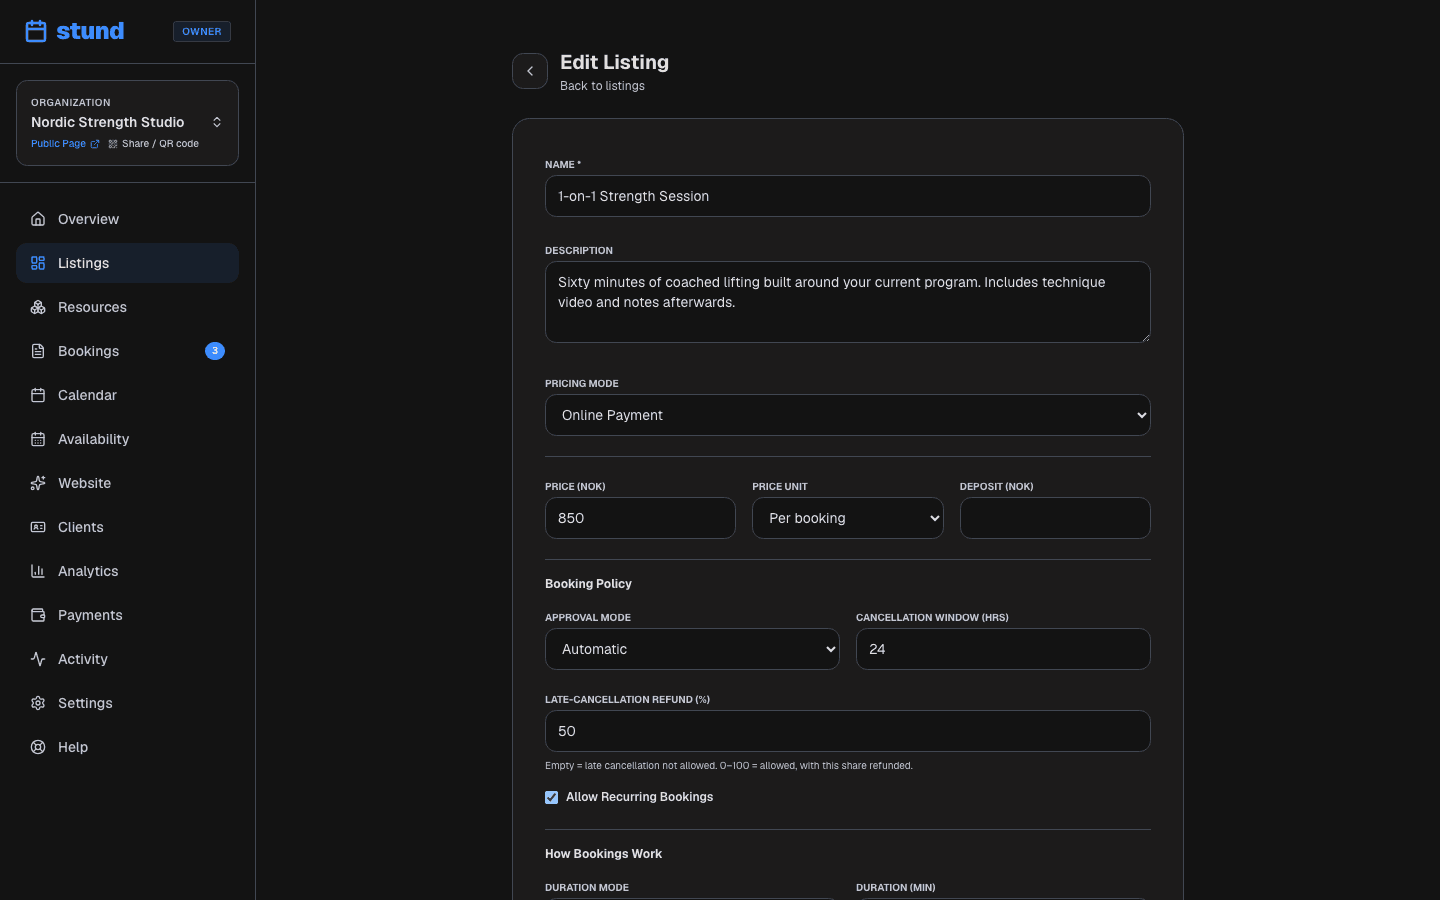
You can charge per booking (flat fee per session), per hour (scales with duration), or per person (scales with group size).
Good to know
A method whose provider isn't connected yet shows as disabled, with a hint pointing to Settings → Billing & Payments. Turn on Pay on arrival so a paid listing still works before you connect anything.
Approval modes
When a client books, what happens next?
- Manual approval — the booking lands in your Bookings inbox as pending. You review it, then click Approve or Deny. The client waits for your decision.
- Automatic approval — the booking confirms instantly if availability allows. The client gets an immediate confirmation.
You choose one approval mode per listing.
Booking rules
Every listing has configurable rules. Key ones include:
- Duration limits — shortest and longest booking allowed.
- Booking interval — slot increments (30 min, 60 min, etc.).
- Minimum notice — how far in advance clients must book.
- Maximum advance — farthest in future clients can book.
- Buffer time — time blocked before/after each booking so you can reset between sessions.
- Cancellation window — hours before start when clients can cancel for a refund.
- Recurring — whether clients can book the same slot weekly.
Tip
Buffer time is the rule coaches most often forget. Set 10–15 minutes if you need to reset the floor or write notes between clients.
Booking data
Clients provide information at checkout. You can ask standard questions or add custom questionnaire fields (text boxes, multiple choice, checkboxes) — handy for training goals, injuries, or experience level. You can also require acceptance of terms (liability waiver, health declaration, studio rules) as PDF or text.
Photos and details
Upload photos to build trust — the first becomes your cover image, so a clear photo of the coach works well. Add a location and a description, and set max attendees if several people share a slot. Anything else you want clients to know — the level a session suits, your qualifications, what to bring — belongs in the description, which is shown on the booking page.
Status
A listing can be active or inactive — only active ones appear publicly. You can also pause a coach without archiving them — useful while they're on holiday or not taking new clients — and their listings drop off the booking page until you switch them back on.
A coach's schedule at a glance
Each coach gets a Coach Schedule button. It opens a panel summarising that one person: how many service options are priced for them, how many weekly working slots they have, whether those hours are their own or inherited from your general availability, the actual days and times as chips, and the appointments assigned to them with each client's name, email, time and status.
It's a read-only summary — a way to answer "what does Tuesday look like for Maria?" without leaving the page. Change her hours in Availability and her prices on her listings; both are reflected here next time you open it.
Getting started with your first listing
Most coaches work entirely in the Listings page. You can:
- Click Add a Listing and manually fill in the form, or
- Describe what you offer in plain language and let the AI assistant auto-populate most fields.
Either way, you start by naming the coach and choosing the booking shape (duration, time slot, or service menu). Stund then sets smart defaults for pricing, rules, and approval mode — you adjust them to fit your business.