Sign up and set up in one go
When you create your account, Stund walks you through a short setup — about two minutes. There are three screens:
- Let's get started. Choose whether you are setting up as a Solo coach or a Team, then pick your training formats (gym, private studio, outdoor, home, or online), core specialties, and what you usually charge per hour. That one rate is all we need — Stund suggests a handful of services you could take bookings for and prices each one from it, so you don't have to decide your session lengths here. It's also where you set when people can book — the days you work and the hours you're open. Those are your working hours, so every service you offer is booked inside that window; you can give an individual service or coach its own hours later from the dashboard. It also asks where you are: give your street address if you train at a fixed place, or just the city or area you work in if you don't — either is a real answer. Whichever you give, Stund fills in your company address from it, coordinates included, so your map pin and the address on your page are already set when you finish; adjust any of it later under Settings → Company information. This screen also asks for the language you use with clients — the language your booking page opens in and your clients' confirmations and reminders are written in — and lets you offer your page in a second language on top of it. It starts out as the language you were reading Stund in, and it is asked here because it decides what language your page text is drafted in. Stund drafts your full page structure, session details, and starter FAQs from your answers — and everything it drafts lands in ordinary fields you can edit before anything goes live.
- Your booking page. Your business name and your booking address — the link you'll send clients, like yourname.stund.net. We also ask whether you'd rather use your own domain — either one you already own or one you buy through Stund. Whatever you pick, the last screen gives you the search (or the connect step) right there, so you can sort it out before you leave setup. Custom domains are included for all organizations; searching is free, so you can see what's available and what it costs first. This screen also confirms your country, time zone and currency.
- Your services. A service is something people can book — like a coaching session. Name the coach (the resource) and your sessions. On the review step, all your services sit in one list: tap + Add service to add session types (such as an assessment, check-in, or package session) with their own length, pricing, and approval mode, Edit any of them, or remove one with the bin icon. Anything we suggested from your hourly rate is labelled Suggested until you edit it, so you can always tell which ones you didn't write. The first service is no different from the rest — if one we drafted isn't what you sell, edit it or remove it. Remove them all and your page simply stays private until you add something clients can book.
Why you sometimes see fewer screens — or more
When we manage to draft your setup from your answers, screens 2 and 3 are replaced by a single Here's your setup review, because there is nothing left to ask. If drafting didn't work — it was too slow, or briefly unavailable — you'll see the two screens instead, with a note saying we filled in what we could. Nothing has gone wrong either way, and setup finishes the same: whatever we couldn't fill in, you fill in yourself.
Your page is live when you finish
As soon as you complete setup, your booking page is public and taking bookings — you don't have to publish it separately. The last screen shows your link, ready to copy or share.
If you'd rather keep it under wraps for now, tick Keep it private for now on that screen and only you and your team will see it. You can publish whenever you like from Website → Publish.
If you skip the first-session step, your page stays private until you add something clients can book — an empty page isn't worth showing anyone.
Tip
Chose By card, online? Your session goes live as pay-in-person to begin with, and switches to card automatically as soon as you connect payouts in Settings → Billing & Payments. That keeps your page working while you sort out bank details.
Finish setting up
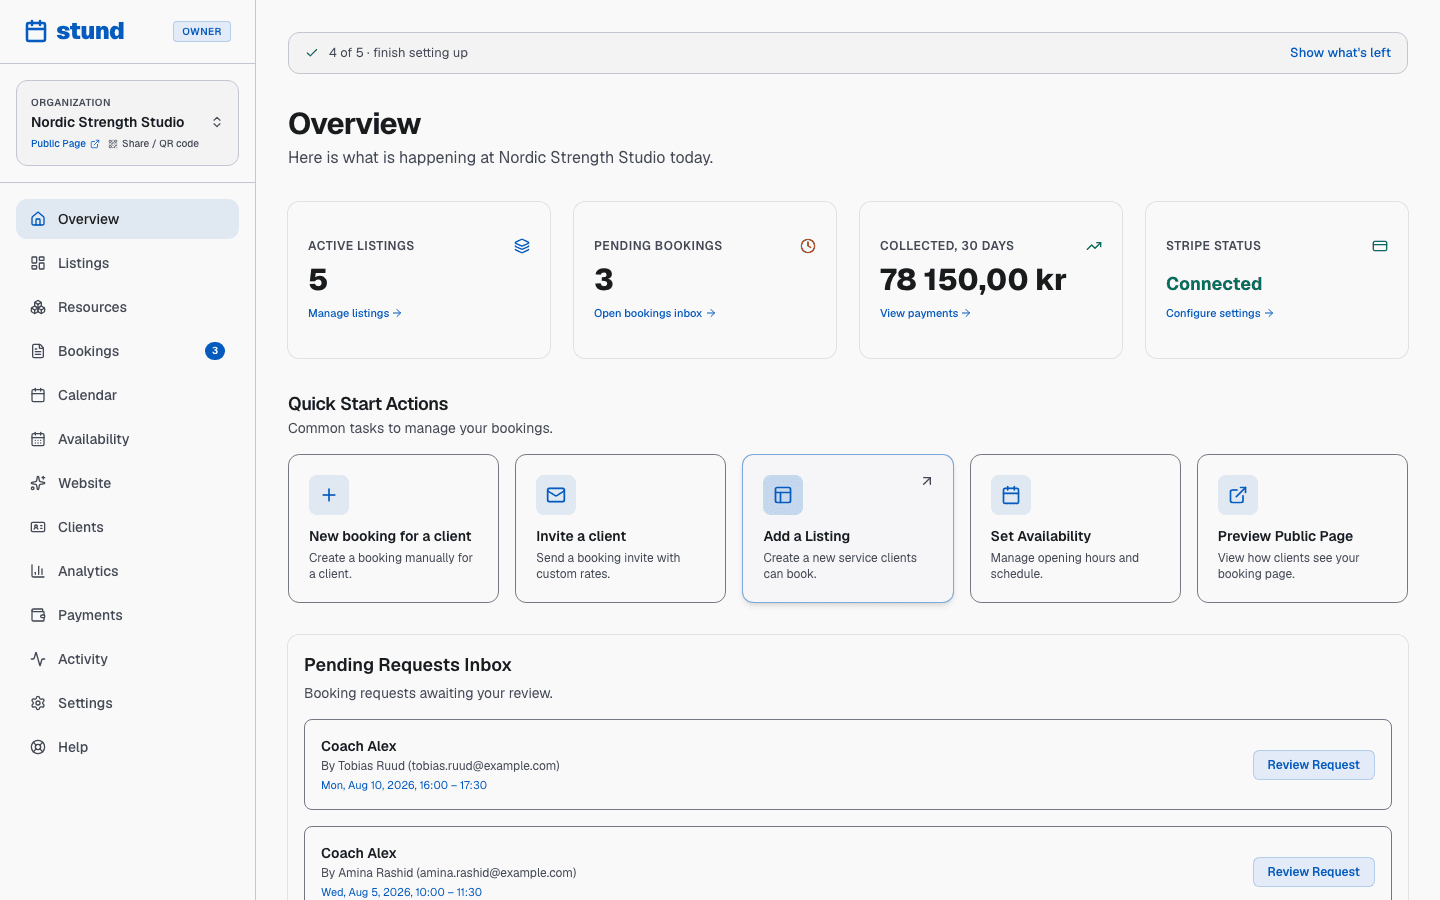
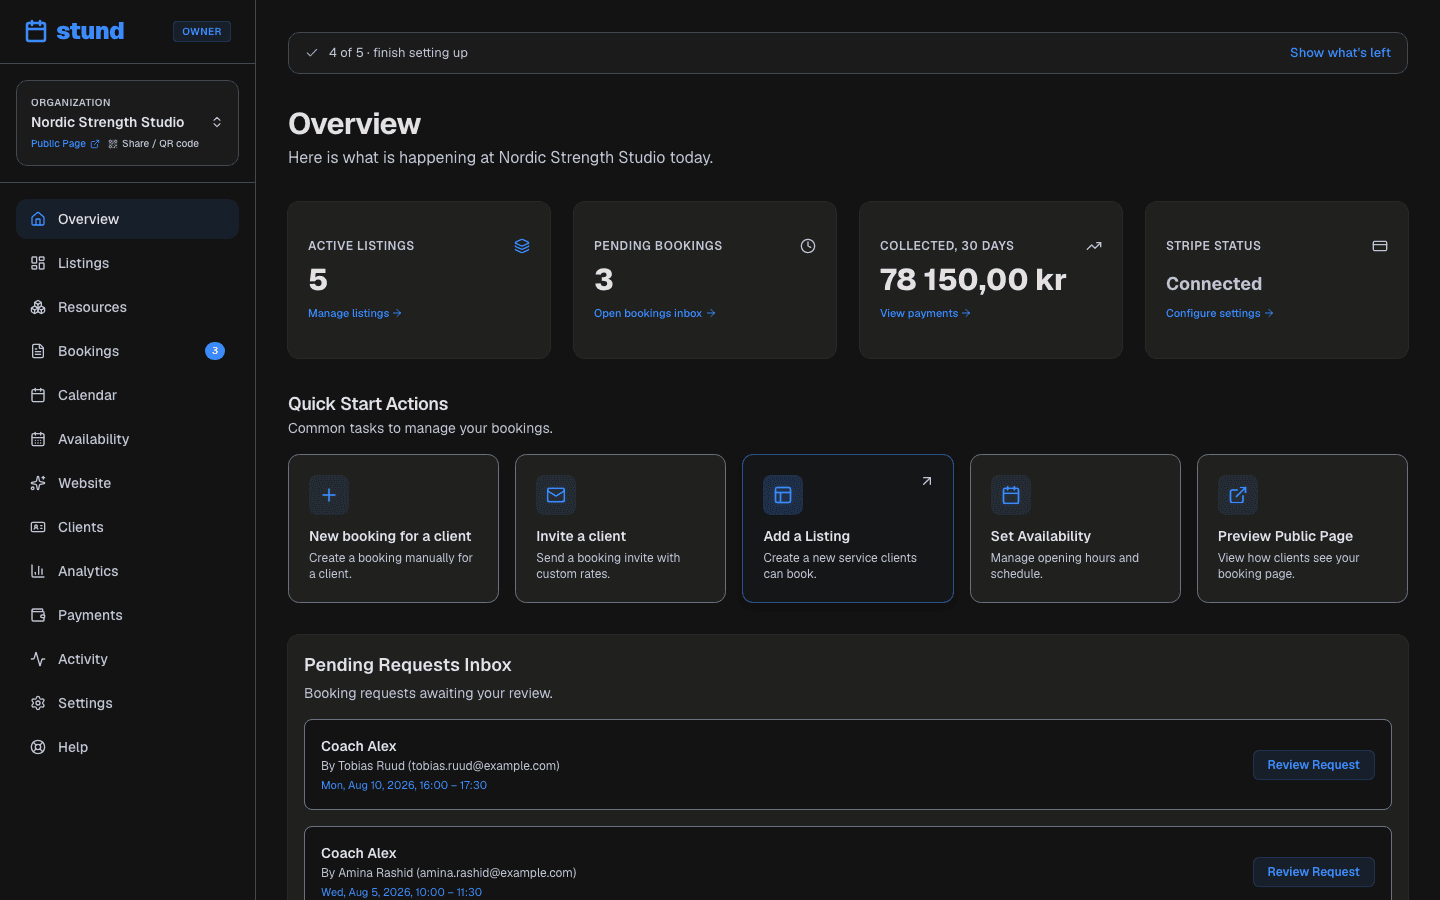
Overview shows a short checklist of anything still standing between you and bookings — a session to add, hours to set, payouts to connect, a photo for your page.
Once nothing launch-critical is left, the card folds itself down to a single line ("3 of 4 · finish setting up") so it stops taking over your Overview. Tap Show what's left to open it again. It goes away entirely only when every step is ticked, including the optional ones like adding a photo — so a line that lingers doesn't mean you're not taking bookings.
Tour the dashboard
Once your organization exists, you land on the Overview page — your command center. From the sidebar, you can navigate to all the main areas:
- Services — the services your clients book: session names, prices, schedules, and booking rules.
- Coaches — the people clients book: you, and any other coaches on your team, each with their own hours and services. Most of the time you'll work in Services; open Coaches when you want to add a photo or set a coach's own hours.
- Bookings — your inbox for incoming booking requests, and a log of all past bookings.
- Clients — a directory of everyone who has booked with you.
- Analytics — view trends: how many bookings you get, your busiest times, and your most popular sessions.
- Payments — history of all collected payments and platform fees (if you charge online).
- Settings — business info, payment setup, team members, and more.
Add more sessions
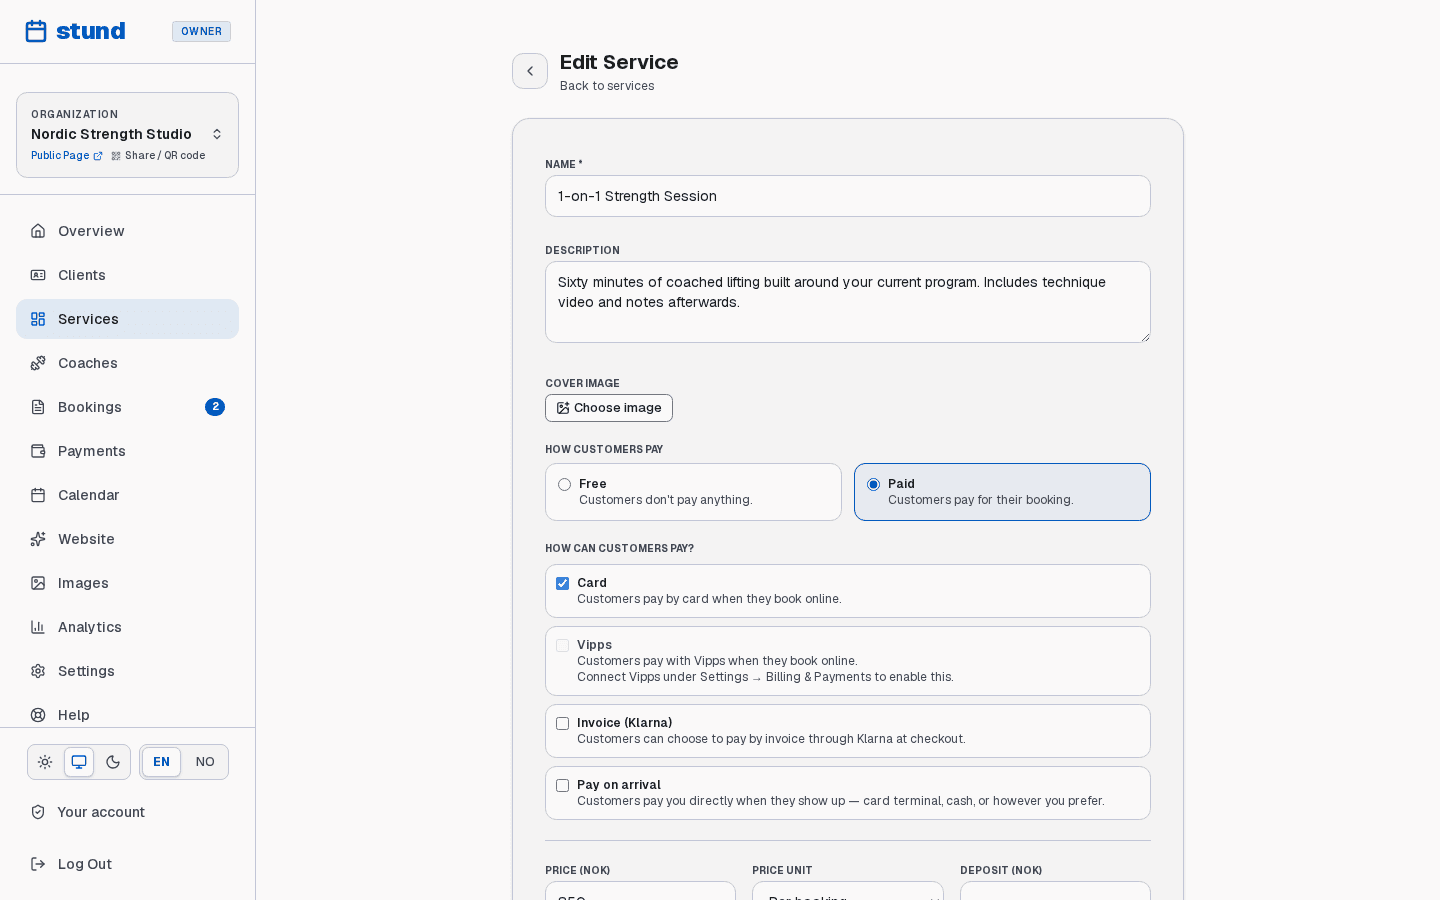
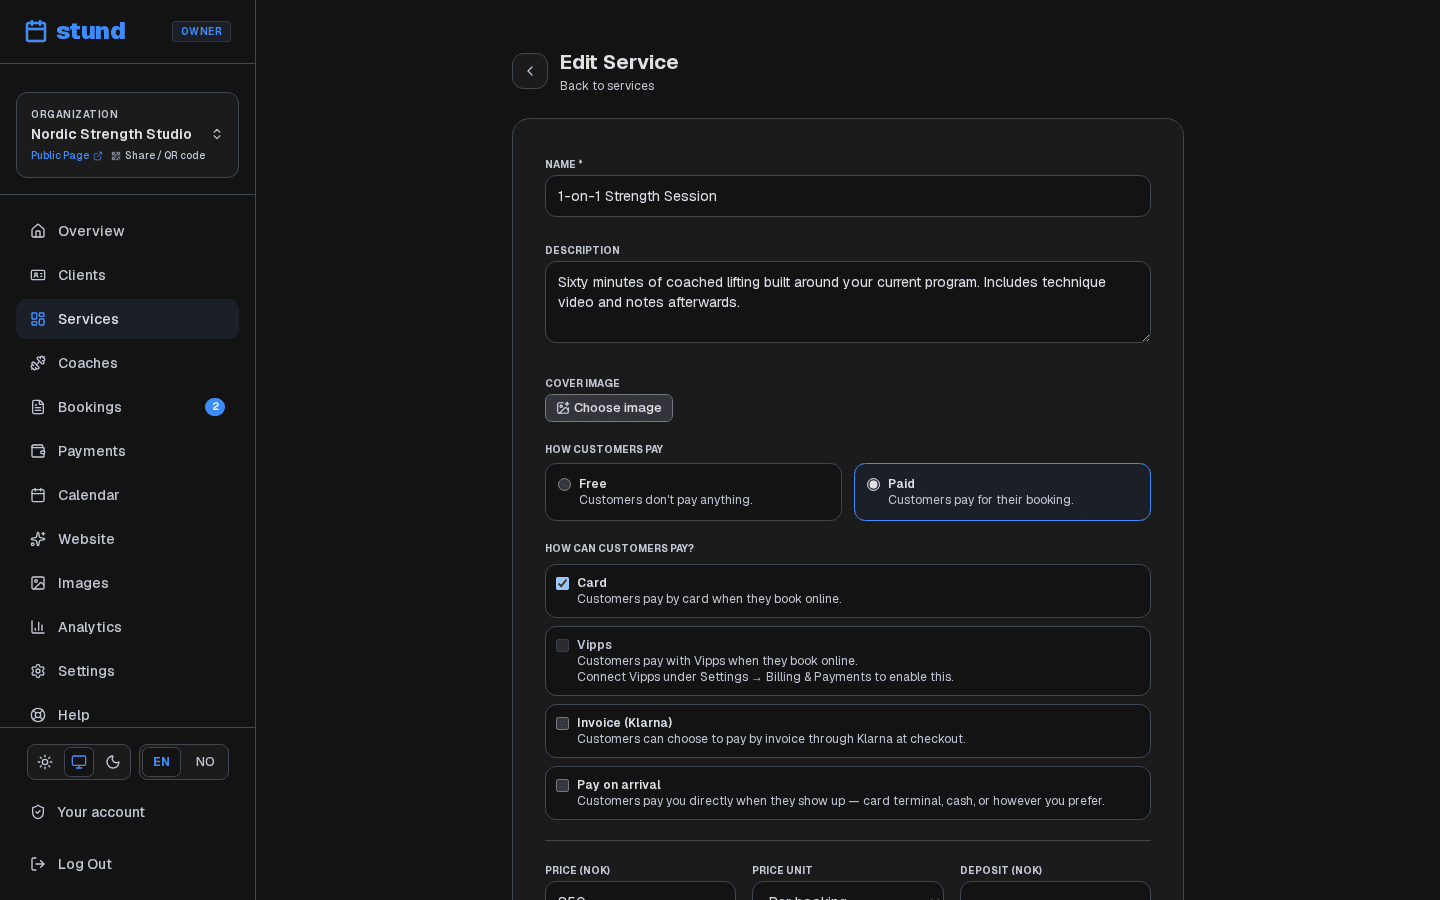
Setup created your first session for you (and any extra sessions you added with + Add service during setup). A service is something clients can book — a session type they reserve, with its own duration and price. For example "1-on-1 Strength Session", "Online coaching check-in", or "Small-group HIIT class". To add another:
- Open Services.
- Click Add a Service (or use the quick action on Overview).
- Choose how it's booked — a set session length, a flexible duration, or a service menu. Stund sets smart defaults based on your choice.
- Fill in the basic info: name, description, location, and add photos that show clients what they're booking.
- Set pricing: free, pay-on-site, or online payment. If online, you'll connect a payment method in Settings later.
- Set the approval mode: review each request yourself, or auto-approve bookings.
- Optionally add terms clients must accept before confirming — for example a liability waiver or a health declaration.
- Click Save — your service is now live (active by default).
Tip
Prefer to skip the form? Describe what you offer in plain language and the AI assistant can auto-fill most of these fields for you.
Set your availability
Setup already saved the days and hours you gave it for your coach profile.
Heads up
A coach with no working hours behind them shows no free slots, even on a published page. If you ever see an empty calendar, this is the first thing to check.
To change them:
- Go to Coaches and click on your coach profile.
- Under Availability, add or remove available time windows for each day of the week.
- Use Closures for this coach to block out dates you're away (vacation, courses, competition weekends).
Share your booking page
Your page went live when you finished setup, so there's nothing to publish — just share the link. Clients book through your subdomain (e.g., yourname.stund.net).
If you kept it private, or skipped the first-session step, open Website → Publish and press Turn it on next to Website is off when you're ready. The go-live checklist on your Overview has the same button.
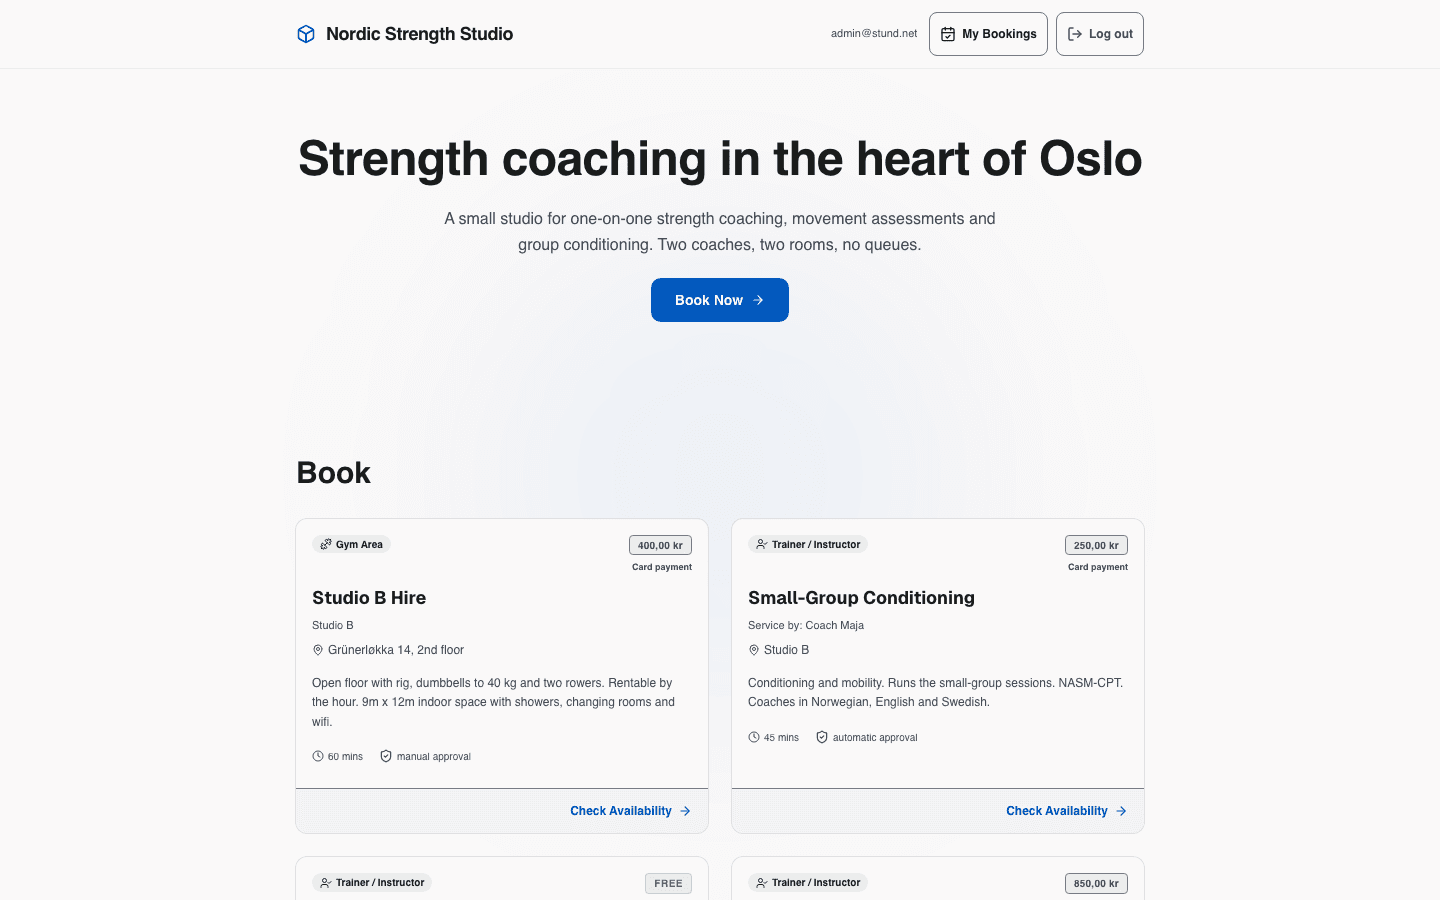
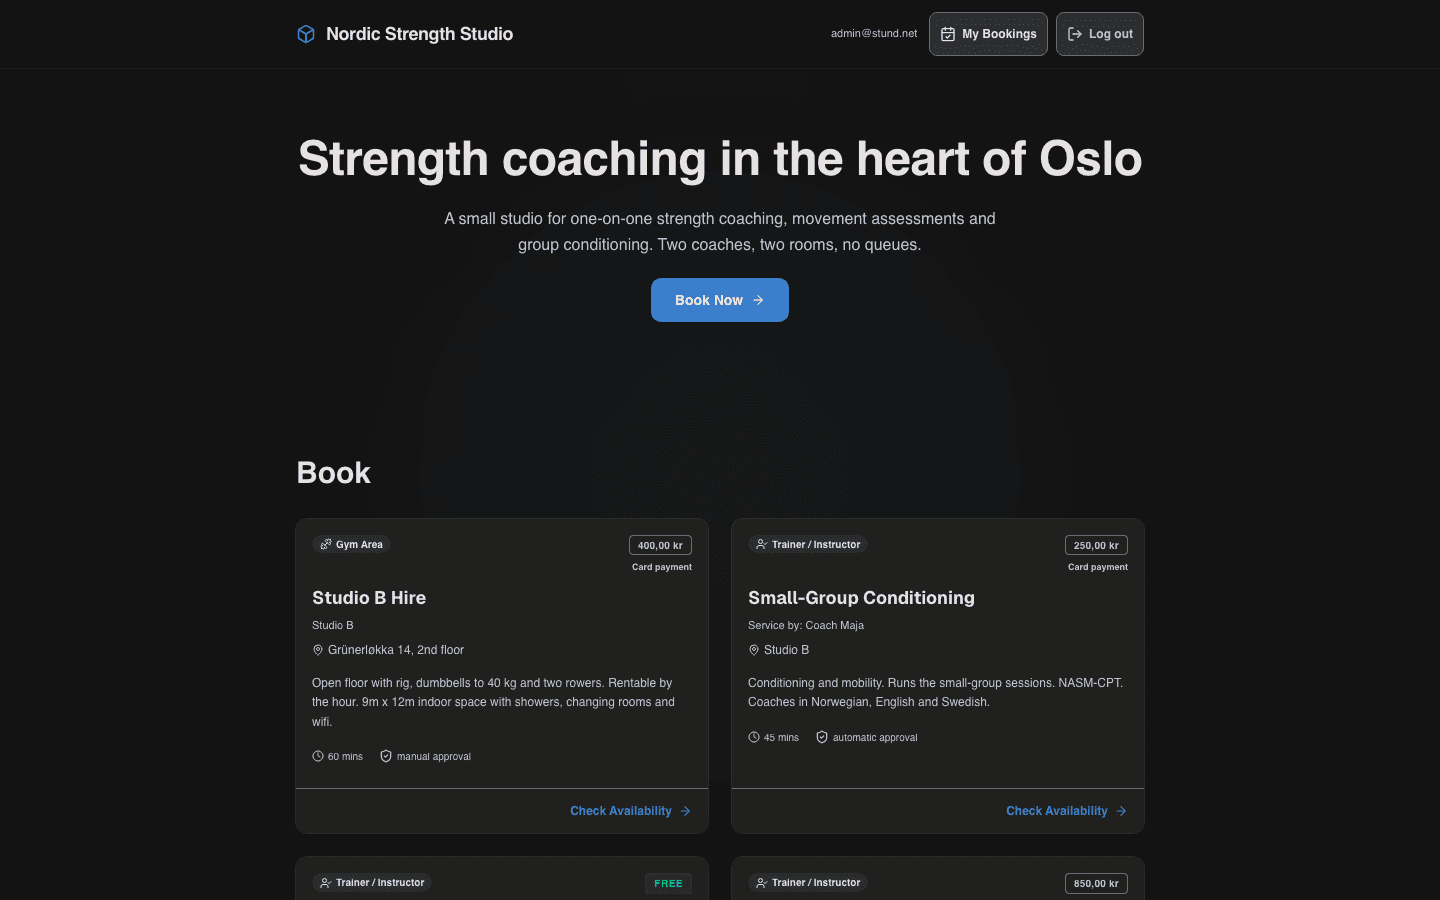
You can also invite specific clients to a booking directly, or embed the booking widget on your own website.
Receive your first booking
Once your page is live and you've opened hours, booking requests start arriving. Each one appears in the Bookings inbox with:
- The client's name and email
- The session and time they want to book
- The group size (for group sessions)
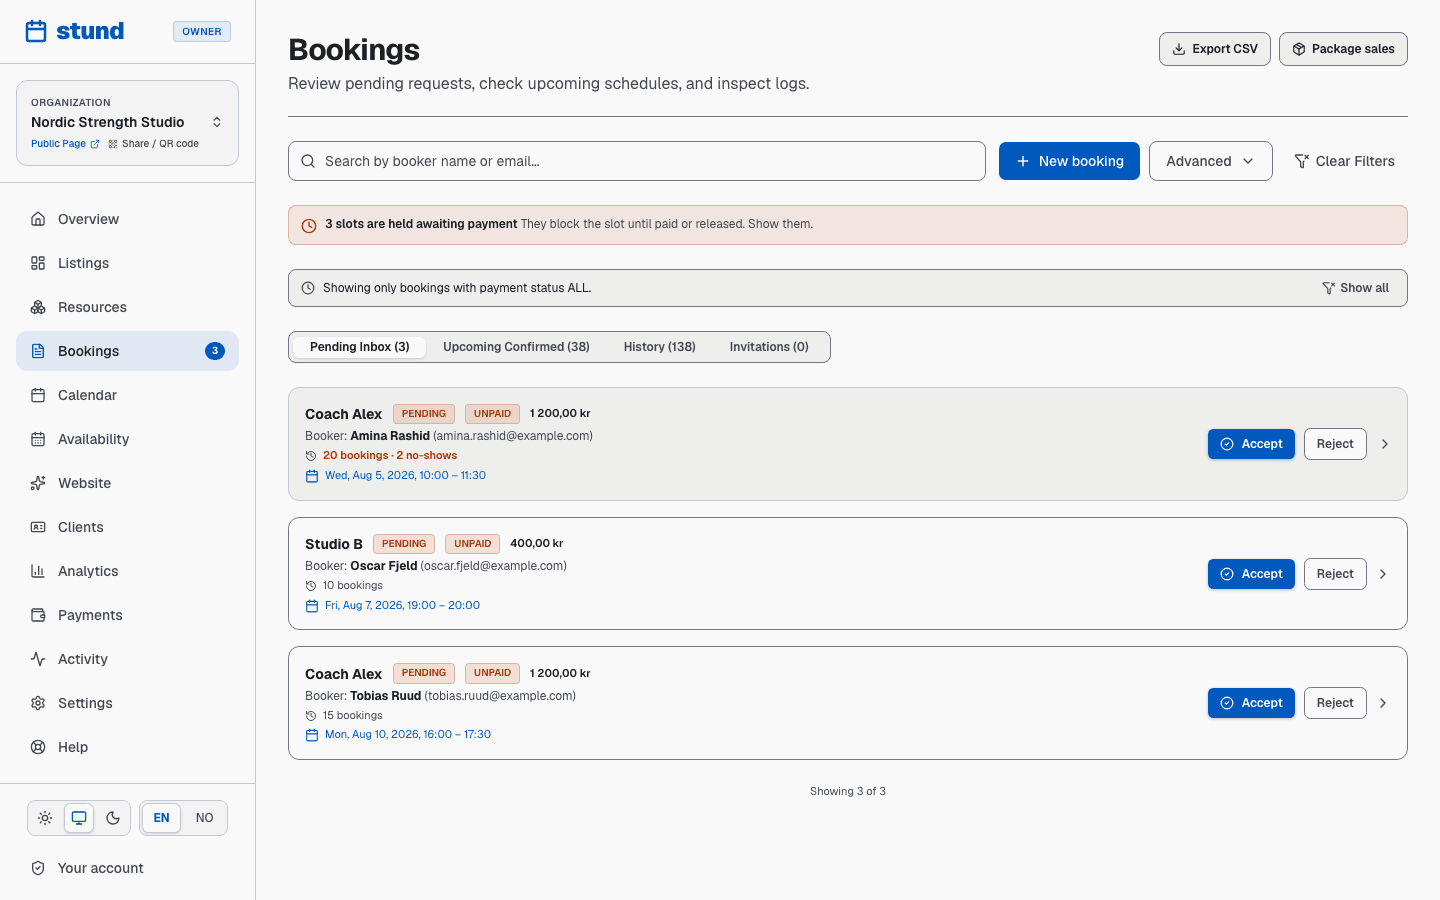
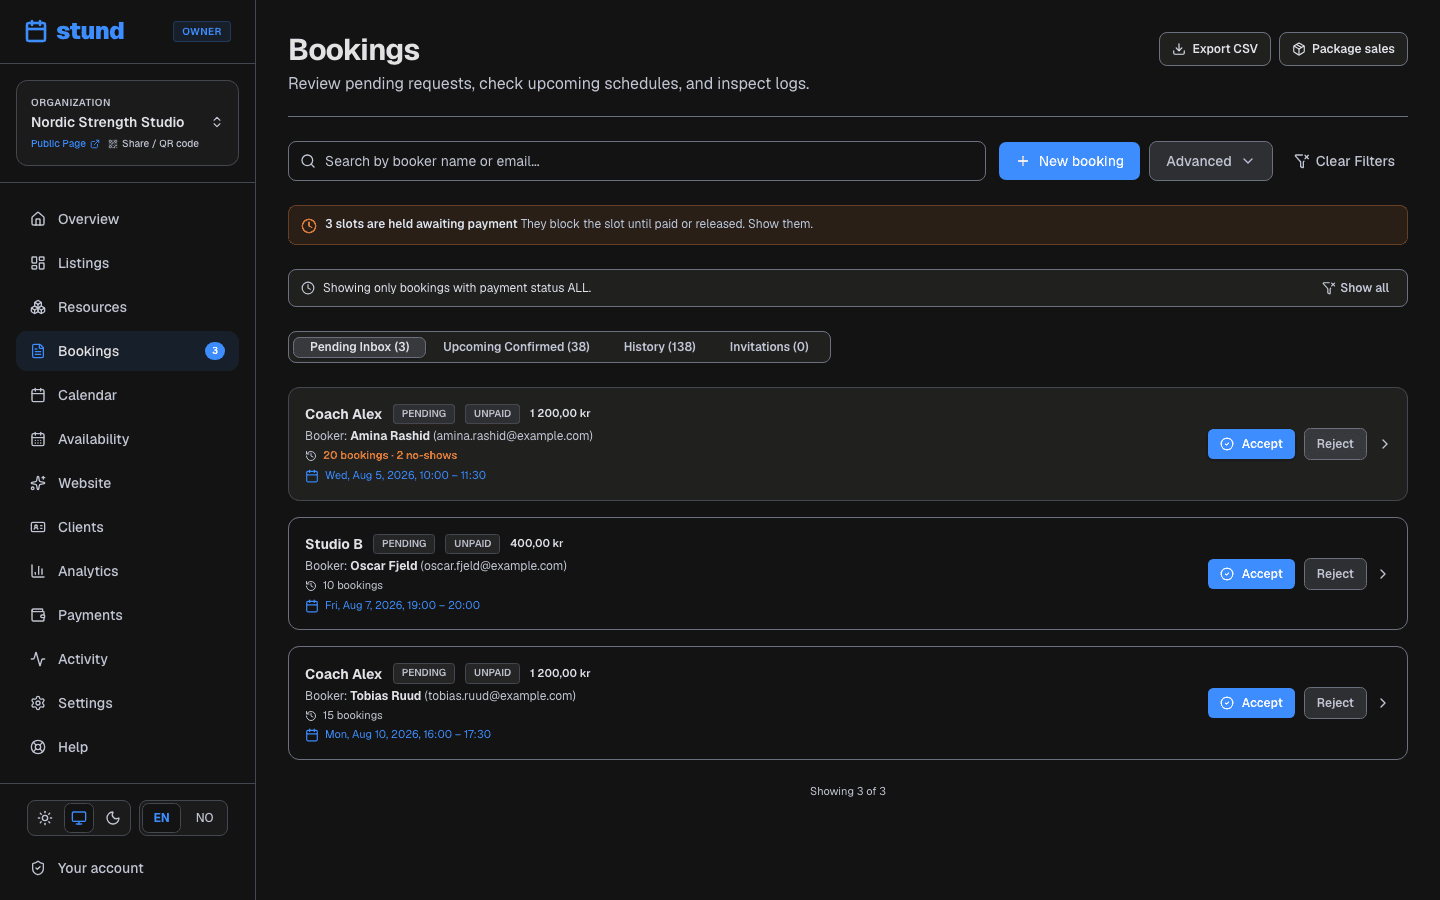
If you set manual approval, you'll review each request and click Approve or Deny. If you set auto-approve, bookings confirm instantly. Either way, the client gets an instant notification.
Next steps
Your booking page is now running. Common tasks from here:
- Add more services (assessments, program check-ins, group classes, and so on).
- Connect a payment method (Settings → Billing & Payments) if you're charging online.
- Invite a colleague (Settings → Team) if someone helps you manage bookings. Team members come with the Growth plan; on Free the account is yours alone and an invitation is refused, so upgrade first.
- Tune your booking rules (minimum notice, cancellation window, buffer time between sessions) to fit how you work.
- Change your business name, booking link or contact email (Settings → Company information, at the top under Business basics). The booking link is the last part of your address — change it and the old one stops working, so send the new one to anyone who has it. The contact email is both the address shown on your public page and where Stund's own notifications to you are sent; it starts out as the email you signed in with, and changing it here does not change your login.
- Change your time zone, currency or organization language (Settings → Company information) if any of them came out wrong during setup. They sit under your address there because they follow from it — picking a new address fills in the time zone and currency for you, and offers the language that usually goes with it. The organization language decides what language your booking page opens in and what language your clients' confirmations and reminders are written in; it is separate from the EN/NO switcher in the sidebar, which only changes what you see. Also offer my page in … on the same screen adds a second language for clients — you then write that version in the Website editor, where you can also translate the page. Visitors are offered the second language once every text has a translation; until then your page simply stays in your main language. Changing the main language itself is guarded the same way: if the new language's texts aren't ready, Stund offers to prepare it as a second language first and switch when it's complete.
- Review your Analytics to see what's popular and adjust pricing or availability.