Your Public Booking Page
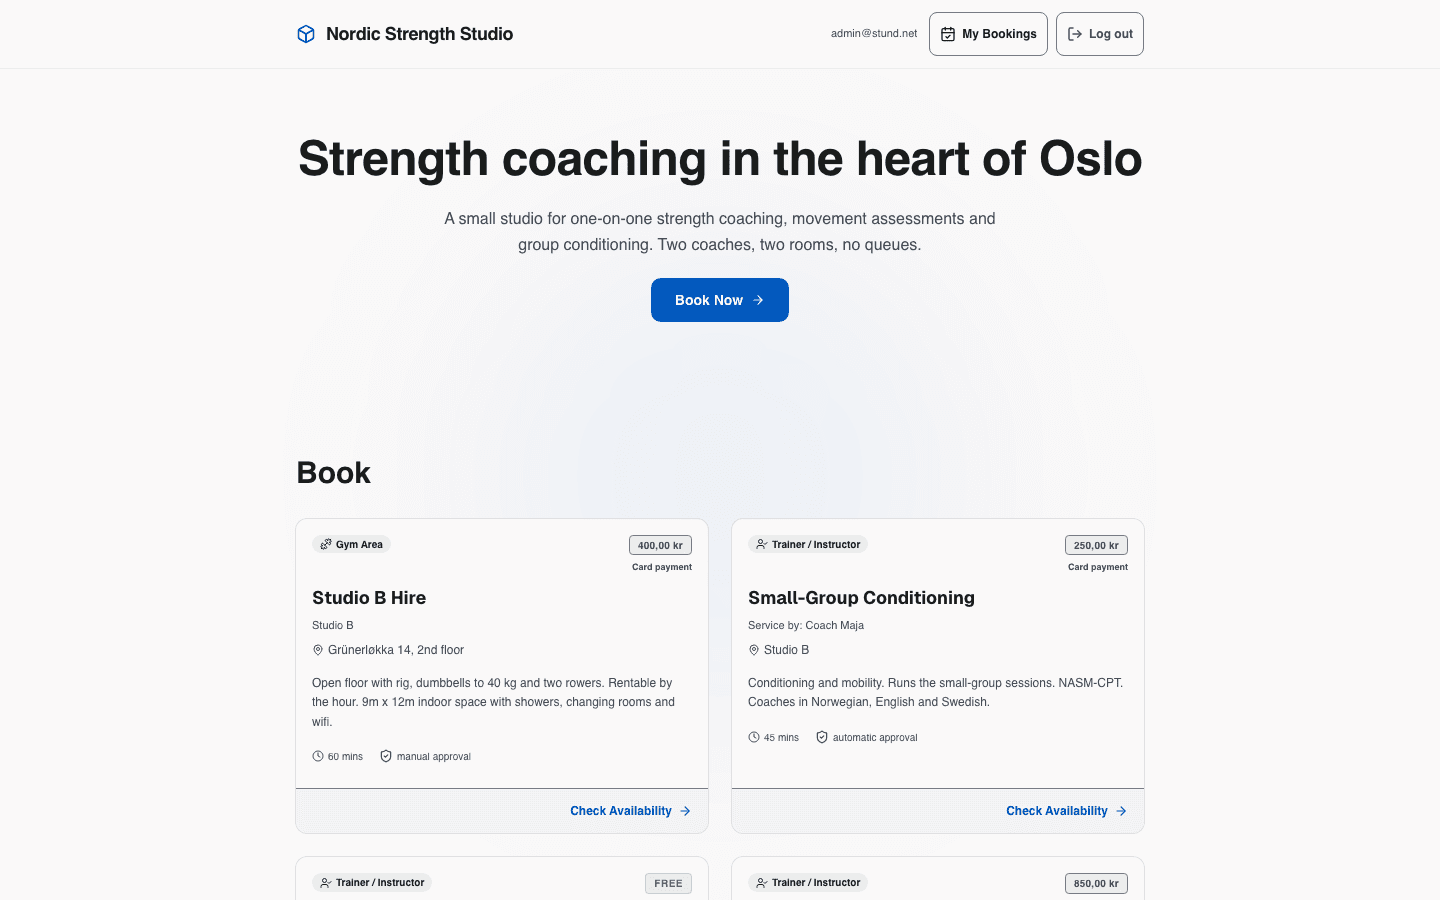
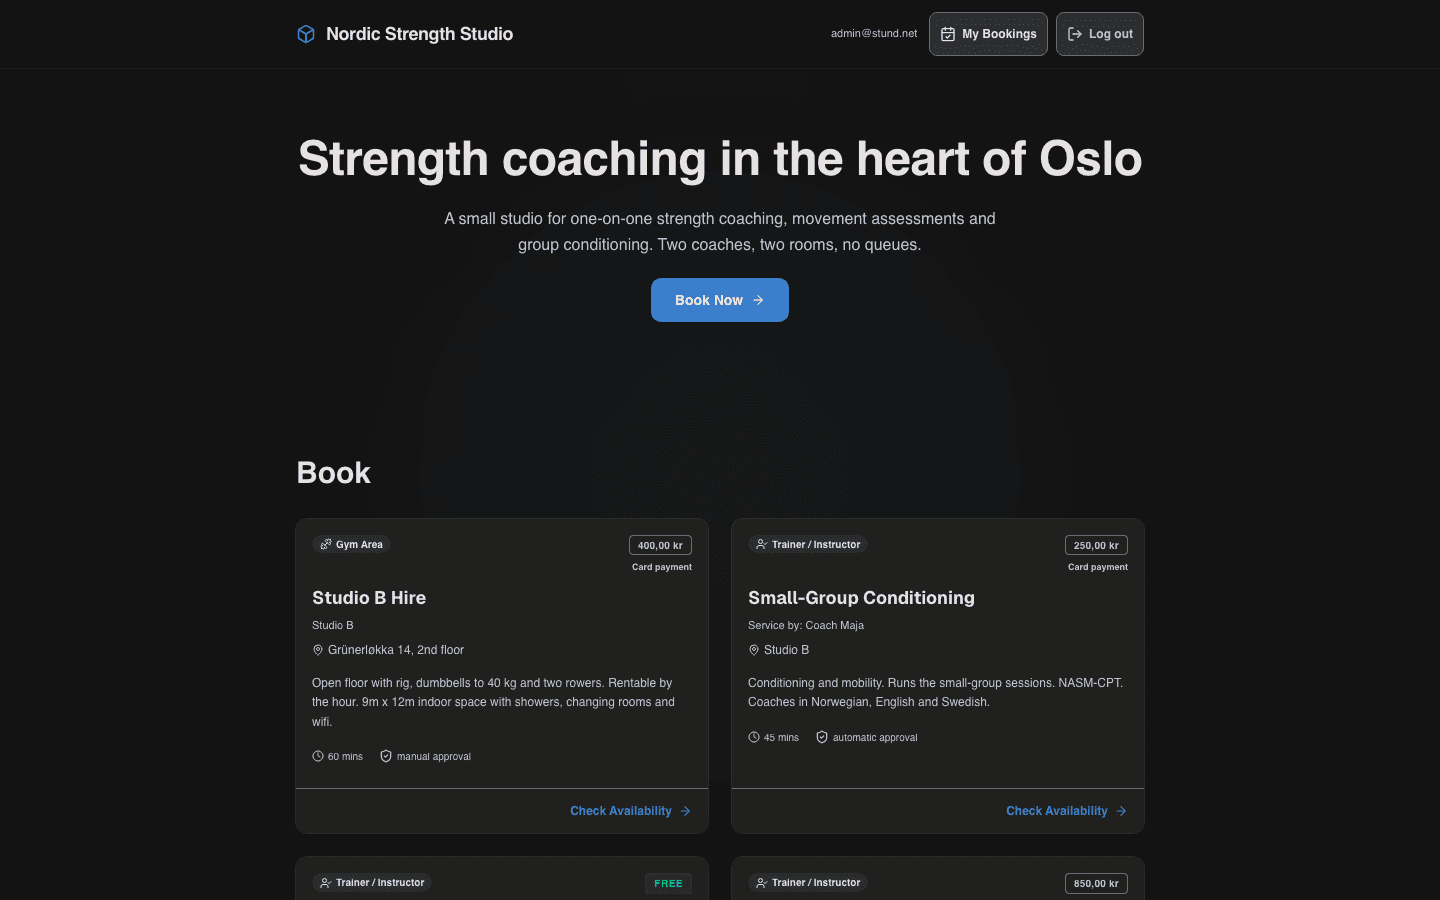
Every coach you create in Stund gets their own public booking page where your clients can view your availability, pick a time for a session, answer any questions you've set up, and pay. Your booking page lives at a unique subdomain: yourname.stund.net (where "yourname" is your business slug).
You can also give the page an address of your own (e.g., booking.yourcoachingbrand.com) from the domain panel in Settings. You can either buy a domain through Stund — we register it and point it at your page, with nothing for you to configure — or connect one you already own by adding a DNS record at your current provider. The guide Your own domain walks through both, including how yearly renewals work.
Sharing Your Booking Link
You can share your booking page in several ways:
- Direct link: Share yourname.stund.net with clients via email, your Instagram bio, or word of mouth.
- QR code: Your booking page as a code someone can scan. It lives on its own page — Share / QR code, the small link under your business name at the top of the dashboard sidebar. Show it to whoever is standing in front of you, print it for the wall, or copy the link from the same page. It's the whole booking page rather than one service, so it stays valid and you only have to print it once.
- Embed the widget: Put a booking widget directly on your own website (see below).
Good to know
The code scans even while your page is unpublished — it just lands on a page nobody can see. The Share page warns you when that's the case; publish before you hand the code out.
The Website editor
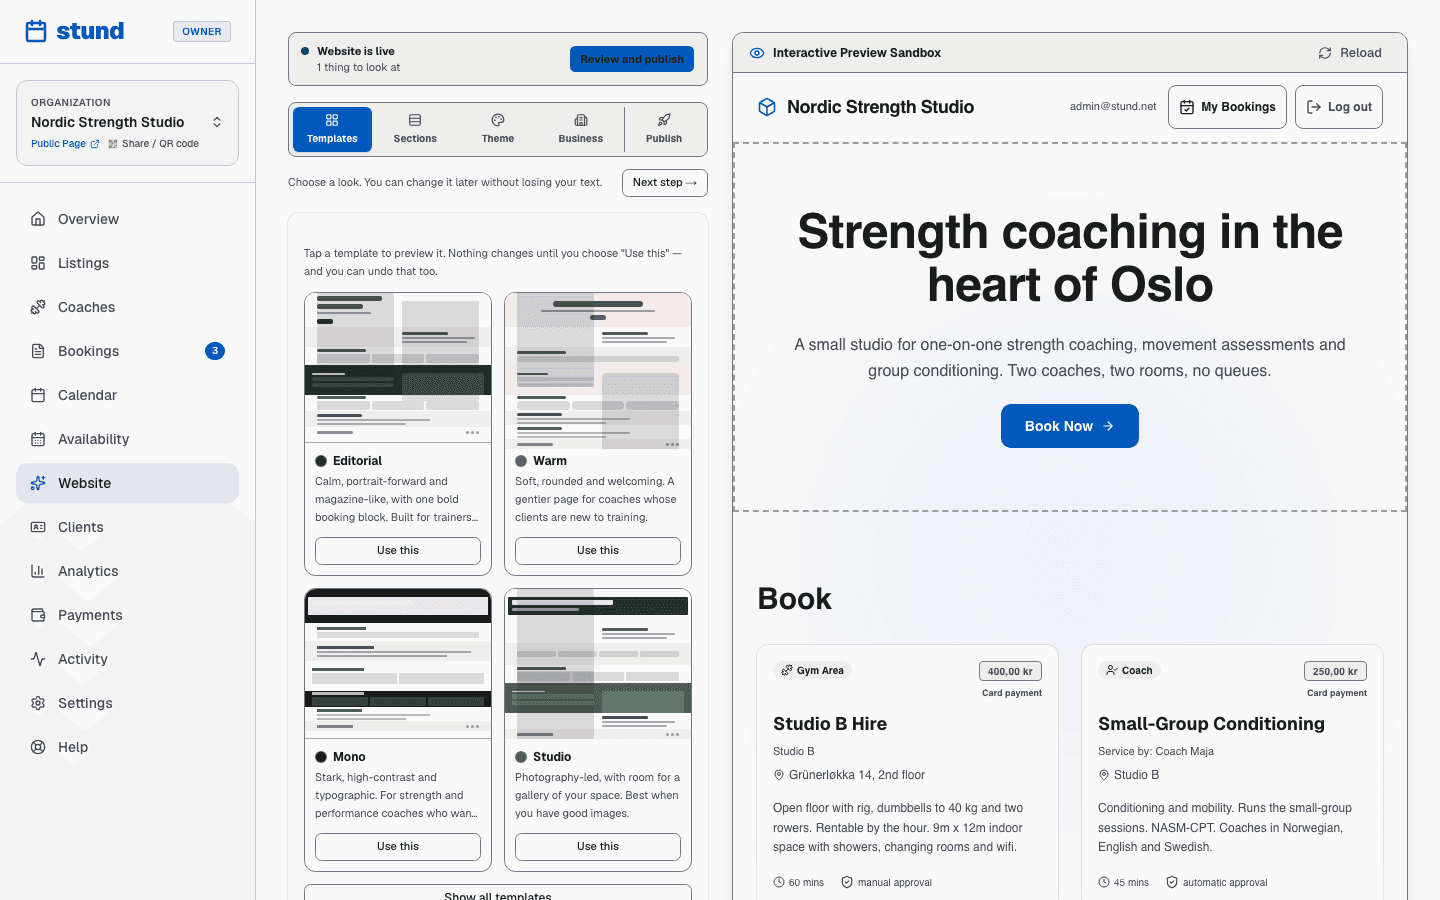
For many trainers, this page is the only web presence clients ever see, so it works like a small website — not just a booking form. Open Website in the main menu to build it. Everything you change is saved to a private draft and shown in the live preview beside the editor. Nothing is public until you press Publish. A Website AI bar sits at the top of the page, above the tabs, so it's there no matter which tab you're on. Type a request in plain language — text, look and colours, sections, even a whole template — for example "make my about text warmer" or "add a gallery and testimonials" or "make the colours forest green" — and it replies with a list of suggested changes. Nothing on your page changes until you press Apply to draft, and even applied changes only go live once you press Publish; press Dismiss instead to ignore a suggestion. Website AI only knows this page's draft — it can't see your bookings, clients or settings, and it can't touch your phone number, address or social links either, since those live in Settings rather than on the page; ask it and it will point you there. For anything about bookings, clients or the rest of your dashboard, use Stund AI in the sidebar instead — see The AI assistant. The editor itself has four tabs: Content, Design, Layout and Publish.
- Content is every word on your page, in the order it appears — headline, about text, service descriptions, FAQ, testimonials, and so on, with no preview beside it (text is read, not looked at). Each field has its own Suggest button (the sparkle icon) that asks the AI to write a suggestion for that one field. The suggestion appears in a card under the field for you to review — it never replaces your text on its own. The card shows the suggested wording, a short line on why it was written that way, and a note that it's based only on your business name and the text already on your page. Press Use this to bring it into the field, Discard to drop it, or type a note such as "warmer tone" or "shorter" and press Rework for a revised version. Each section's heading has a matching Suggest section text button that does the same for every field in that section in one go — a bar then appears at the top of the section offering Use all or Discard all. If you offer a second language, its box sits right beside the original so you fill both in side by side — see Offering your page in two languages below for how the translate buttons work there. If a field isn't drawn by the template you currently have active (such as the Kicker in the Top section, which only appears in the Editorial layout), it displays a Not used in chosen template badge with a (Change template) link that jumps straight to the template gallery in Design. The field remains fully editable and saved, so any text you write is ready if you ever switch to a layout that uses it. Below your sections is a short pointer to Settings → Company information for the details several sections share — phone, address and social links, covered just below. A section you've switched off in Layout still shows here, carrying an (off) label, so you can write or edit its words at any time and switch it on in Layout whenever you're ready to use them.
- Business information: your phone, address (use Search address to look up your location, which populates your address fields and sets your map pin preview) and social links are set in Settings → Company information — owners and admins only. Your address usually starts out filled in already, from the location you gave during setup — check it over and add anything that's missing, such as a street number we couldn't know from a city name. Change them there and every section that shows them (Location, Contact, Footer) updates on your page immediately, with no draft and no separate publish step. In the designer you still choose whether each of those sections appears at all, and how it looks, from Layout.
- Design is your page's look and feel, in two tabs beside a live preview: Templates and Theme.
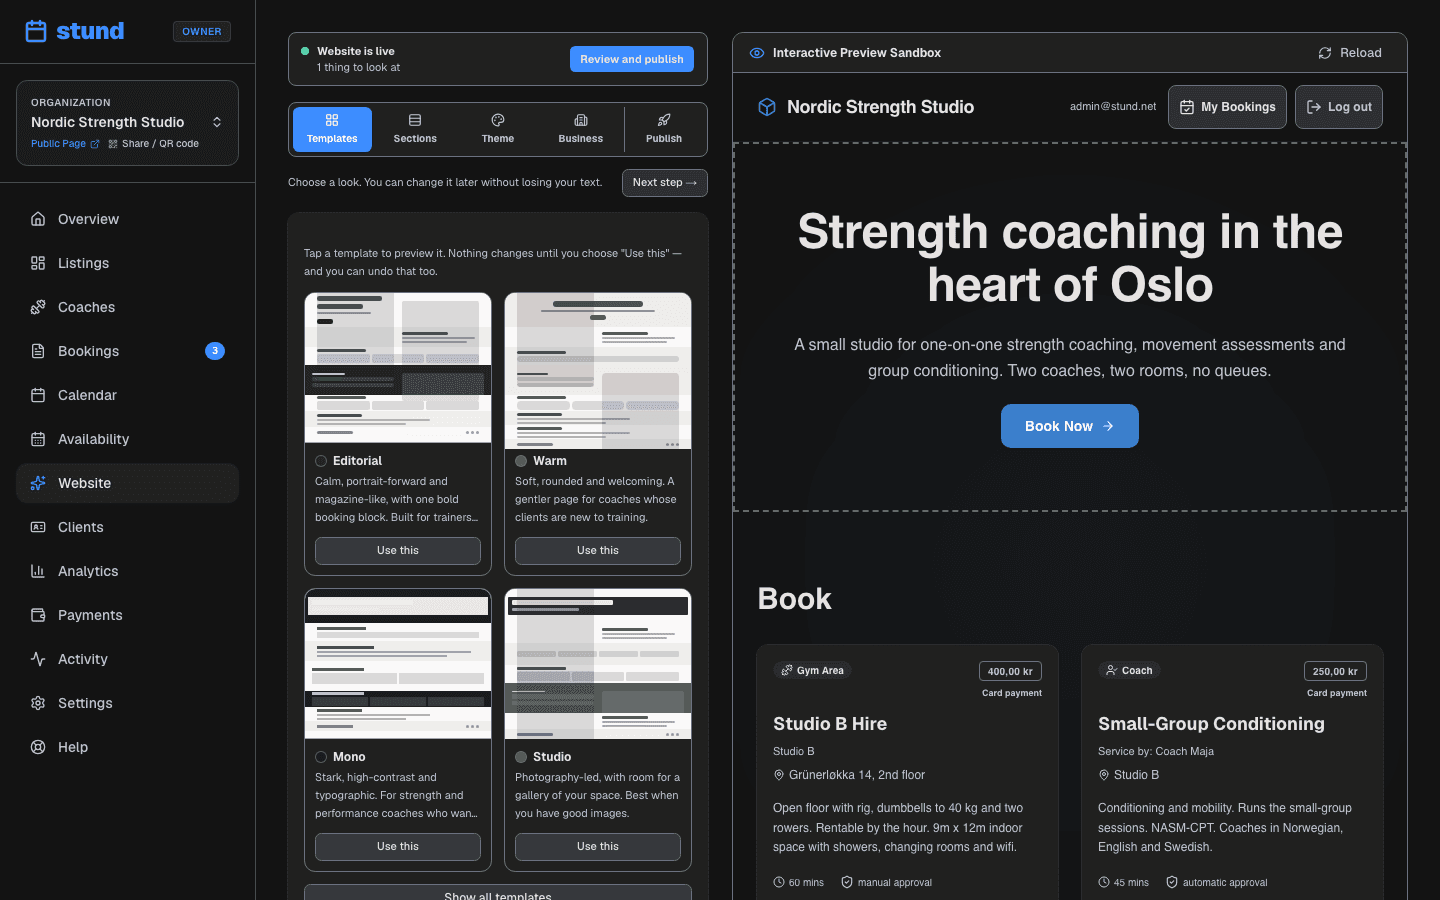
- Templates: Pick a ready-made look. Tap a template to see it on your own page first — that is only a preview, nothing is saved until you press Use this. Choosing one changes your colours, font and the styling of each section. It never touches your words, and it never changes a section you have switched on or off yourself — the only thing it does beyond restyling is switch on a section you have never had an opinion about, which you can switch off again like any other. So it is completely safe to try every template and keep whichever one you like. Undo reverts the one you just applied. Several are built for trainers and coaches: Editorial (calm and portrait-forward, with one bold booking block), Warm (soft and welcoming, good if your clients are new to training), Mono (stark and high-contrast, for strength and performance work), Studio (photography-led, best if you have good pictures of your space), Night (dark and high-contrast, for strength studios with a bold identity), Circuit (punchy and accent-heavy, for athletic, high-intensity training), Atelier (calm and literary, for slower, one-to-one bodywork), and Haven (airy, with the booking calendar right up front). Wellness, Facility, Panorama (imagery-led, for venues and halls), Rental and a neutral Classic cover other kinds of business — use Show all templates to see them.
- Theme: Pick an accent color (choose a swatch or enter any hex code like #FF5733) and your theme mode. System respects each visitor's own dark mode preference and lets them toggle the theme themselves. Choosing Light or Dark locks your page to that theme and removes the switcher, ensuring visitors always see your page exactly as you designed it. Fonts have two controls: Body font sets the typeface for all your ordinary text, and Heading font lets your titles and section headings use a different, more distinctive typeface. Leave Heading font on Same as body to keep one font everywhere, or pick a second one to make headings stand out from the text underneath them.
- Layout is your page's structure and images, in two tabs beside its own live preview: Layout and Images.
- Layout: Your page is an ordered list of sections — every section type is always in the list, and a switch next to each one turns it on or off for your page. Reorder sections by dragging a handle up or down the list, and restyle any of them; a section you switch off stays right where it is, dimmed, so its position and styling are waiting for you the moment you switch it back on. Each section's Appearance group lives here too: Background (plain, soft grey, a light tint of your brand colour, or a solid brand band), Layout (for example whether Services reads as cards, a price list, or large rows), Spacing, Width, and its images or gallery. An Edit text link on every section jumps straight back to Content for that section's words. Available sections include Hero, About us, Booking (always on — it can't be switched off), Services, Packages, Gallery, Location (with a map), Testimonials, Contact, FAQ, and a Footer with your social links.
- Images: Your logo, profile image, and background image, chosen from your image library — upload a new photo from inside that picker if it isn't in your library yet. As a trainer, a good profile photo is often the most important asset on the page.
- Publish: The tab that puts your page out. Above the button it lists anything worth a look first — sections still holding the template's words, an example photo you have not swapped for your own, a missing picture of you, a second language that is not finished. Each item links straight to the tab (or back to Content) that fixes it, so you are never left hunting. All of it is advice you can publish past, including an example photo of a room or a face — templates ship with a few so a page never looks half-built, and publishing works fine with them in place, but visitors may expect to see your actual space, so swap them for your own photos when you can. The one that behaves differently is the unfinished second language: publishing still works, but that language simply isn't offered to visitors until every text has a translation. Whether the page can be reached at all, and which languages it is offered in, are set here too.
- Getting testimonials: your page starts with none, because the example quotes a template ships with are not from your clients and are never published. In Content, open the Testimonials section and you will find a link to share — send it to a client you have worked with, and their words come back to you. Nothing appears on your page until you press Add to my page, and quotes from someone whose email matches a client of yours are marked as such. Their look is set in Layout, but the quotes themselves — like every other word on the page — are always written in Content. This is usually the single most persuasive thing on a trainer's page, so it is worth asking two or three people early.
- FAQ: switch on the FAQ section from Layout, then write questions and answers in Content. You can write them by hand, press Suggest a question to let the AI draft common questions, press Suggest answer for any question you type, or use Suggest section text to draft a complete set of FAQs tailored to your business.
- Contact & inquiry form: switch on the Contact section from Layout to let visitors get in touch with questions before booking. In Content, you can customize the heading, an optional intro text, and choose whether to display direct Show email and Show phone links as well as the interactive Show contact form. When a prospective client fills out the form on your booking page:
- Stund automatically registers or updates them in your Clients directory with their name, email, and phone number.
- The message is immediately logged into their conversation timeline under Clients with an unread badge.
- You are notified right away by email (with the message details and the sender set as the direct
Reply-To, so hitting reply in your email client answers the client directly) and via a push notification on your phone.
Publishing is available on every plan — your booking page is not something you have to pay to switch on.
Good to know
Your edits are saved to a private draft as you work. The public page only changes when you press Publish, so it is safe to experiment. If you want to discard your draft edits and go back to what is currently live, you can click Revert at the top of the page.
Two different switches are easy to mix up, so Publish shows both together. Publish moves your edits onto the public page. Whether that page can be reached at all is a separate setting, shown just below it as Website is live or Website is off — a page that is off is visible only to your team, no matter how many times you publish the draft. If it says off, press Turn it on (owners only) when you are ready to take bookings.
Offering your page in two languages
Your page is written in one language — the one under Settings → Company information, which is also the language your clients' confirmations, reminders and texts are written in. The Written in … box in Publish shows which one that is.
To reach clients who read another language, press Add English (or Add Norwegian) in that box. Then, over in Content:
- Every field grows a second box beside the first the moment a second language is offered — your original text on the left, that language on the right. When you click Suggest (or Generate section text), AI creates suggestions for both languages in one go, so you don't need a separate translation step. Accepting a suggestion fills both boxes automatically. If you type or edit your main-language text by hand, a small Translate button appears above the second box so you can translate just that field on demand. You can also press Translate what's missing at the top of Content to fill in all empty translation boxes with AI, or use Re-translate everything (which asks for confirmation) to rewrite all translations from scratch. Either way, read it through before publishing, especially anything with your prices, your qualifications or your own name in it.
- Pictures, colours, layout and the order of your sections are shared between languages, so you only set those once, in Design and Layout.
- A half-finished translation never reaches visitors: your page starts offering the second language only once every text — on the website, and on your services and coaches — has a version in it. Until then the page stays in your own language, with no language switcher in the footer, and you can keep publishing everything else as usual while the translation grows. Because an empty box shows your original wording in grey, Content marks the gaps for you: a warning bar at the top counts how many fields still have no text in the second language and offers Translate what's missing on the spot, each section that has gaps carries a N missing badge next to its name, and every empty second-language box is labelled Missing. The same count appears in Publish, together with a line saying whether the language is being offered to visitors yet — service and coach texts count too, and are translated in their own editors (see Coaches, sessions and clients).
- Once the language is complete and published, visitors switch language in the footer of your page, and a search engine is told about both versions so it can show the right one.
- To see the second language as a visitor would — even before it is finished and offered — use the EN / NO switch above the preview in Design and Layout. It shows the page exactly as someone arriving in that language would get it, untranslated fields and all.
- To test how your page adapts across devices, use the desktop, tablet, and mobile viewport switcher above the preview in Design and Layout. It renders the booking page at authentic screen sizes with responsive styling and layouts, so you can check how your sections and forms look on phones and tablets before publishing.
One thing is deliberately left alone: client testimonials stay in the language your client wrote them in — those are someone else's words, and putting a machine translation in their mouth is not the same as quoting them; translate a quote by hand if you want it in both languages. In your own dashboard and on invoices you always see the names you gave your coaches, sessions and packages, whatever language a client reads them in.
Changing which language is the main one happens under Settings → Company information. If the new language is fully translated, the switch is clean: your current wording becomes the second language, and the translation becomes the page itself. If texts are still missing, Stund suggests the safer route — keep your current main language and prepare the new one as a second language; the page starts offering it by itself once every text is translated and published, and you can then make it the main one. A Switch now choice remains for the case where your texts were really written in the new language all along.
Good to know
Each client's confirmation and reminders use the language they were reading your page in when they booked — so a client who booked in English hears from you in English, even though you write in Norwegian.
Heads up
Templates arrive with example text so you can see how a finished page looks. That example text is only ever shown to you in the preview — it is left off your live page until you replace it with your own words. Example client quotes are never published at all, because they are not from real clients. So if a section looks full in the preview but empty on your live page, that section still needs your words.
The Embed Widget
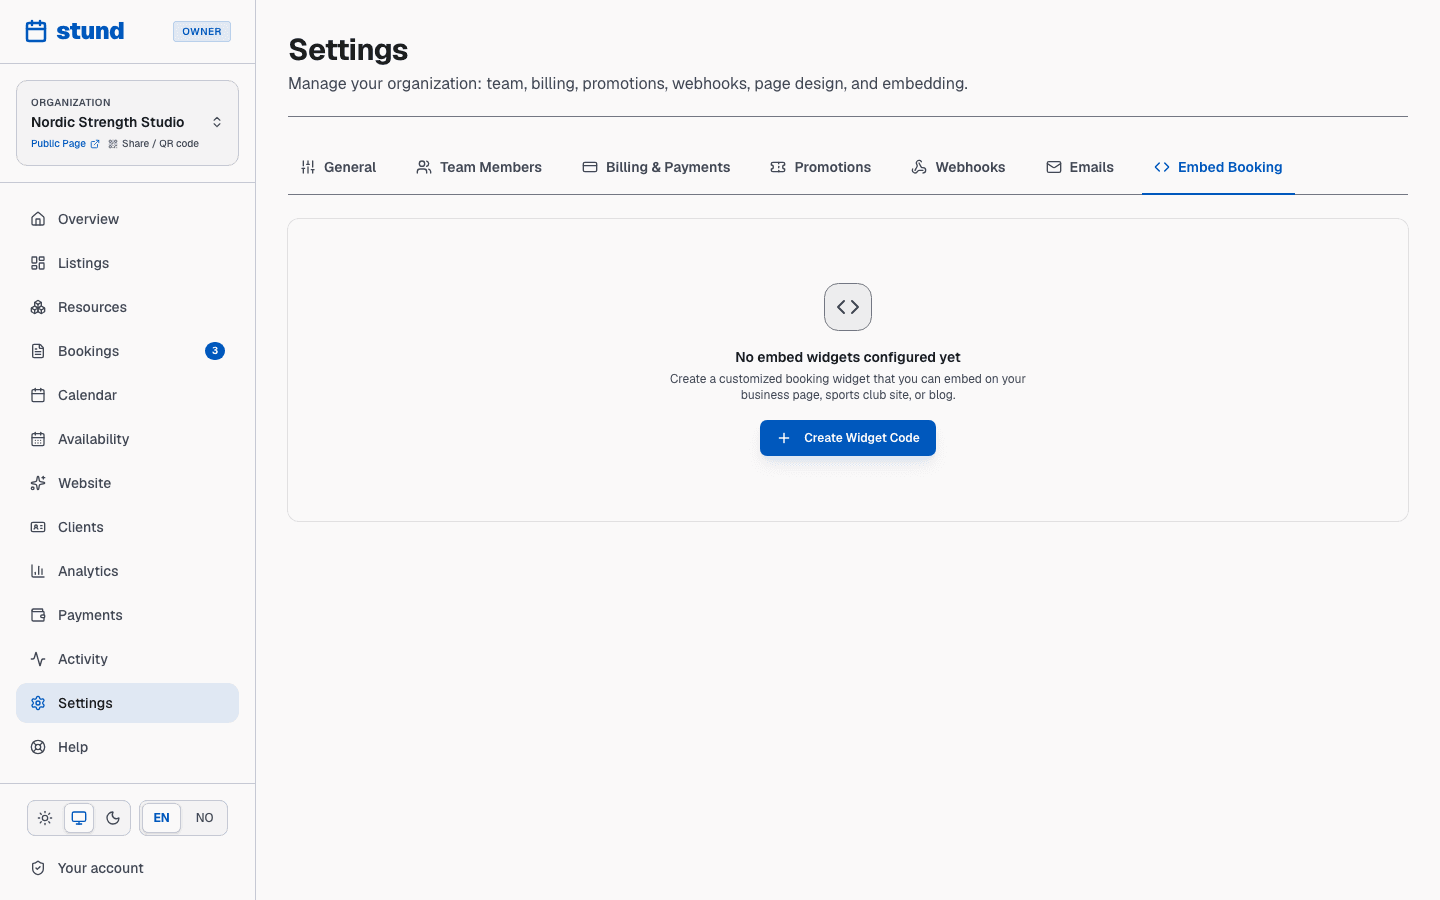
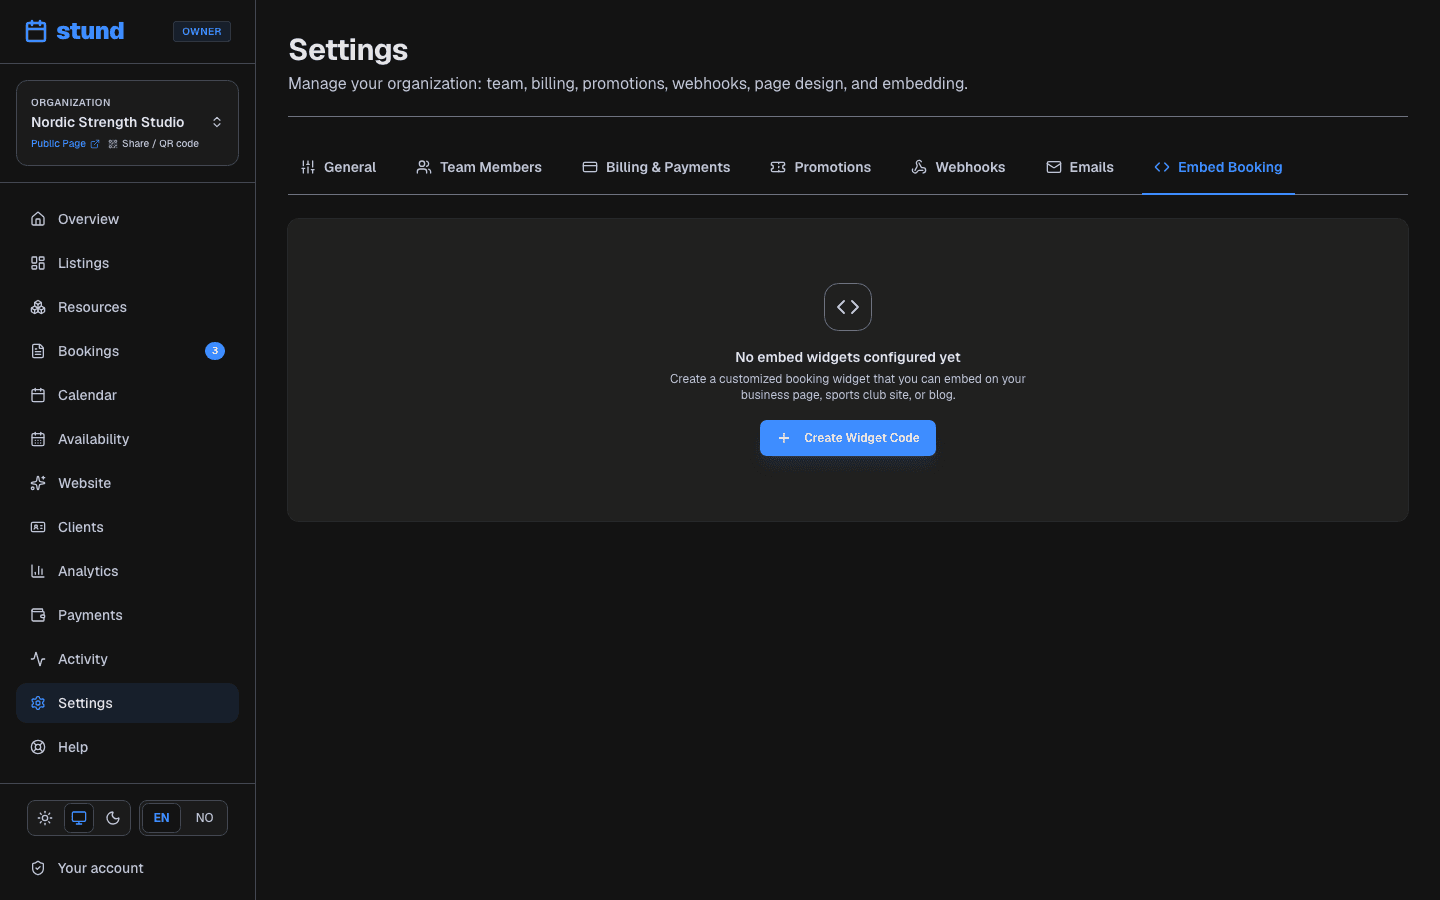
The Embed settings in Settings > Embed let you create bookable widgets to put directly on your own website, blog, or landing page. Each embed widget is a small iframe that displays your booking form inline with your site's layout and content — so clients can book a session without leaving your site.
Creating an Embed Widget
- Click Create embed widget in Settings > Embed.
- Give the widget a name (for your reference only).
- Choose which services to include:
- All active services: The widget shows all active services you've published.
- Specific services: Select only the ones you want to display in this widget — for example, only your 1-on-1 sessions on your coaching page.
- Customize the look:
- Accent color: Pick a color that matches your website.
- Theme: Light, dark, or system.
- Header: Show or hide your business name and logo.
- Footer: Show or hide the "Powered by Stund" attribution.
- Copy the embed code and paste it into your website's HTML or page builder.
On the Free plan, if you hide the footer, a small attribution text still appears at the bottom. The footer is required because it identifies the payment processor. On paid plans, you have full control.
Using the Widget Code
Once you create an embed widget, the system generates an iframe snippet that looks like:
<iframe src="..." width="100%" height="700px" ...></iframe>
- If you use a page builder (like Wix, Squarespace, or WordPress), paste this code into a Custom HTML or Embed Code block.
- If you edit your website's raw HTML, add the iframe snippet to the section where you want bookings to appear.
- The widget loads your booking form and payment options directly, so visitors never leave your site to book.
Testing Your Embed
Before going live, you can test the widget by:
- Opening the Embed settings.
- Clicking the preview link or opening the embed URL in a new tab.
- Making sure the booking flow works, payments process, and confirmations arrive.
Timezone and Availability
All booking times on your public page and in embeds are displayed in your business's timezone (set in Settings → Company information). Clients see session times exactly as you set them.
Limits by Plan
- Free: Up to 3 active coaches can be shown on your booking page or embed.
- Growth: Up to 15 active coaches.
- Scale: Unlimited coaches.
You can always add more by upgrading your plan.